Table Of Content
By following key safety measures, you can protect yourself and those around you from potential hazards. Keep heating the wood surface until your design is the color you want. The longer you apply heat, the more burned and darker it will become. You can make the burned areas look as light or dark as you want. I kept some areas of my image lighter and made some areas a bit darker. Smooth the tape over the stencil from the center outward making sure to press out and remove any bubbles.
How Do You Burn Images Onto Wood?
Practice various techniques, such as line work, shading, texturing, and stippling, to discover what works best for your projects. Adding a touch of color to your wood burning art can create a stunning effect. With their translucent quality, watercolors can complement the burnt design, highlighting the natural beauty of the wood grain while adding a subtle pop of color. Proper ventilation is crucial when working with wood burning, as the process generates fumes that can be harmful if inhaled. Set up your workspace in a well-ventilated area, preferably near an open window or with a fan that can help disperse fumes.
Wood Burning designs using Ammonium Chloride and heat gun
UK MPs could weigh merits of urban ban on domestic wood burning - The Guardian
UK MPs could weigh merits of urban ban on domestic wood burning.
Posted: Wed, 01 Mar 2023 08:00:00 GMT [source]
We asked three expert designers to explain how they like to use it now. Shiplap is a material made of wooden planks, real or faux, that fit together at a 90-degree angle. Traditionally, shiplap boards ran horizontally and had a nickel gap (1/8 inch wide) between them, giving the paneling its distinct look.
Ravishing Bathroom Door Ideas You Should Try

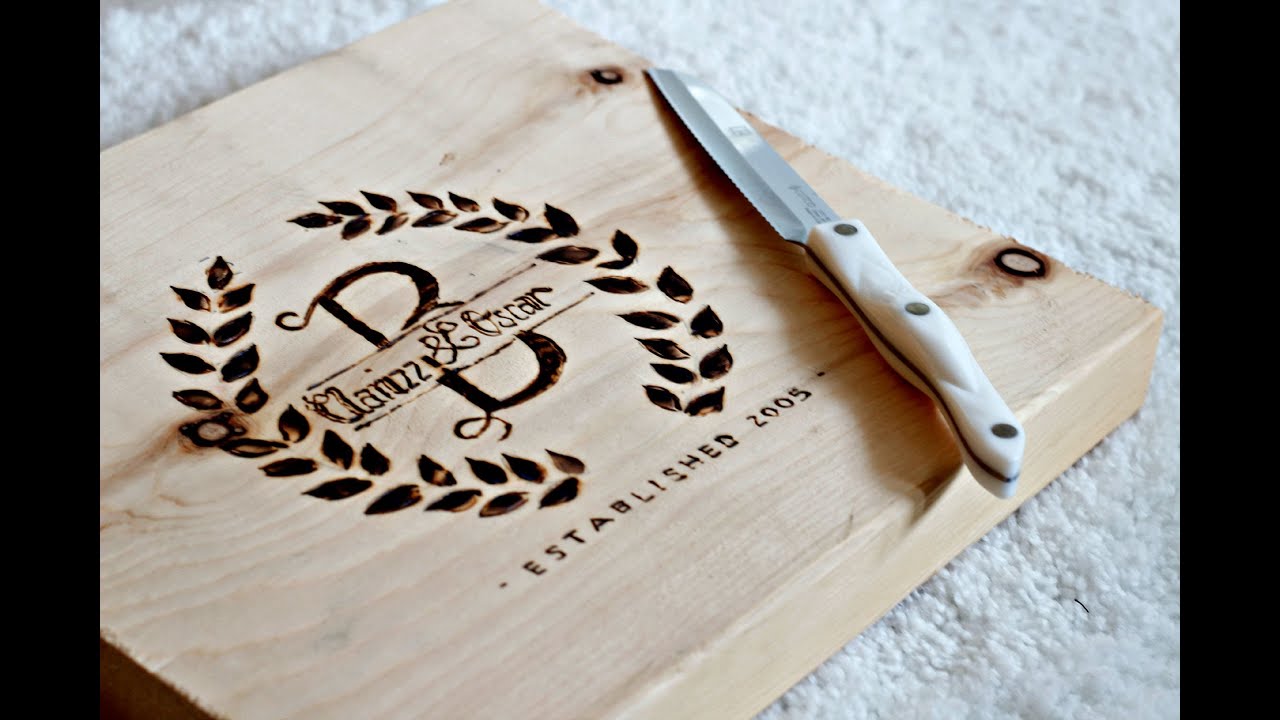
You can start doing your design through a pencil outline or by creating a stencil as a guide. These plaques are mainly for decorative purposes in events or at home. It can also be a perfect gift if you want to give someone a distinctive ornament.
Framing Your Wood-burned Art
Shading and filling are two used to add depth and texture to wood burned designs. Shading involves adding darker tones to certain areas of the design to create a sense of depth and dimension. Filling involves burning the wood in a uniform manner to create a solid, filled-in look.
Can you burn wood to create designs?
The main challenge you’ll face for this project is the design’s quality mainly relies on how well you sketch the crest on the wood surface. On my first projects, I put a lot of effort on drawing everything by free-hand. I felt I would be cheating if I did any kind of effortless transfer to the wood.
This technique can be accomplished with smaller torches, but I recommend using a large propane torch as pictured, and linked. You'll have much more control, and you will avoid that "splotchy" look you get with a smaller torch. Originally intended as a great gift idea, you can also make these Etched Wooden Spoons for your own kitchen.
Let your imagination run free and explore the vast possibilities that this captivating technique has to offer. Remember, sanding, applying a protective finish, and buffing are essential steps to ensure the longevity and appeal of your burnt wood artwork. Following these instructions will help you achieve the best possible outcome, allowing your artwork to stand out and be enjoyed for years to come. Remember to follow all safety protocols when working with fire and always have proper ventilation in the area. However, if they look bare, convert them into pieces of art using pyrography.
Let’s take a closer look at the benefits of using wood burning stencils. Before starting your actual project, practice your wood burning techniques on scrap wood pieces. This allows you to familiarize yourself with the tools, temperature settings, and techniques without the risk of damaging your final project. To sum up, wood burning with a torch is a versatile and artistic technique that allows you to create stunning designs on wood. With the right tools and safety precautions, you can unleash your creativity and bring your designs to life. Before starting the wood burning process, it’s essential to sand the wood surface thoroughly.
Another simple project beginners like you can handle is designing a tissue holder. The burn patterns you can add to these materials are endless, from simple linework to scenery artwork. Did you know you can make a vase look like a legit tree trunk by wood burning? Most wedding venues have this customized piece to add a more rustic feeling to the celebration. You may not know, but flames and paint can go hand-in-hand in one project. You can trace an image using carbon paper, burn the linework with a heated angle tip, and apply a wood finish before adding the paint mix.
To create striking shadows, experiment with holding the torch at different angles to the wood surface. Angling the torch closer to the surface can produce deeper, more pronounced shadows, while holding it at a distance can create softer, more diffused shadow effects. By strategically positioning the torch in relation to the design, you can manipulate shadows to enhance the overall visual impact of your artwork. Utilizing stencils can help you achieve highly detailed and precise patterns. Stencils can be especially useful for creating intricate designs such as mandalas, paisleys, or geometric shapes.


No comments:
Post a Comment